Today we will create a Laravel demo project for reviewing photos, based on a real Upwork job. A simple CRUD will be pre-generated with our QuickAdminPanel, then I will provide step-by-step Laravel code instructions with roles, permissions, scopes, etc.
Notice: At the end of the article you will have a link to Github for the entire code.
We start with a simplified job description, taken from Upwork:
User Types
1) guest: this user can only see photos that have been approved for viewing
2) registered user: has guest user rights and can upload photos to the site
3) reviewer: all the rights of a registered user but with the right to only review items placed in their queue for approval.
4) admin: all the rights of a reviewer, plus the ability to assign tasks to others for review. Possibility to replace the reviewer, possibility to extract the image from the general view, possibility to delete a user account
Function of the website: visitors come to browse images posted by a group of artists. The artist must create an account before being able to publish an image on the site. Images are placed in an image repository and will be displayed randomly on the first page.
Let’s try to create something like this in Laravel.
Teaser – the final result of our homepage will look like this:
Here are the steps we will follow in this article:
These will be generated by QuickAdminPanel:
1. User management system
2. CRUD Photos Menu
Next, we’ll continue adding custom code:
3. Add a reviewer role and permission called “photo_review”
4. Admin: assign a reviewer to each photo in the photo editing form
5. “Photos to review” menu and list of photos to review for an evaluator (will use Eloquent Scopes here)
6. Photo approval – approved_at field and definition in the Photo Edit form
7. Front homepage showing only approved photos
Step 1. Generate User/Photo CRUDs with QuickAdminPanel
You don’t have to use our generator and can create this foundation yourself, but hey, why not save some time?
I won’t go into detail here, because it’s simple, so just a few screenshots:
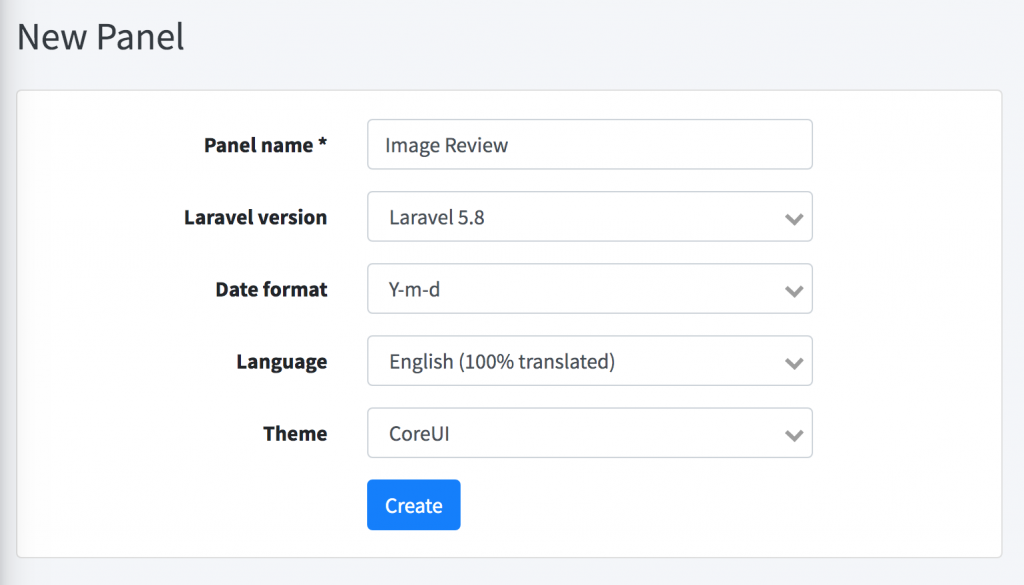
1. New panel
We generate a new project, we will choose the CoreUI theme.
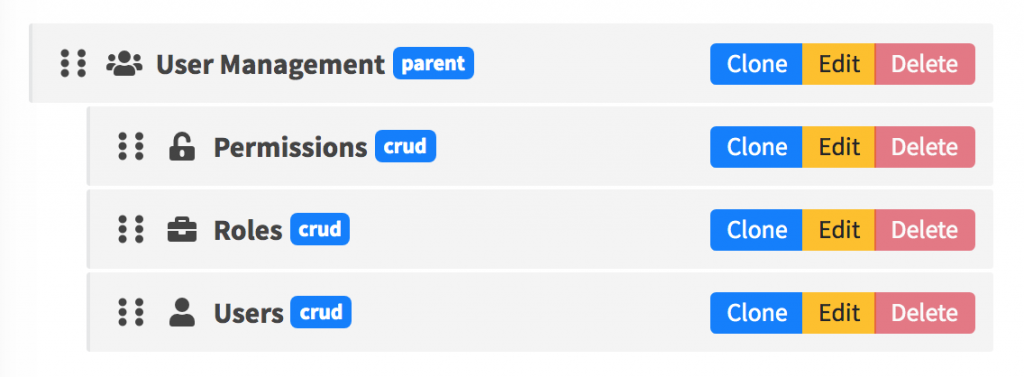
2. User management
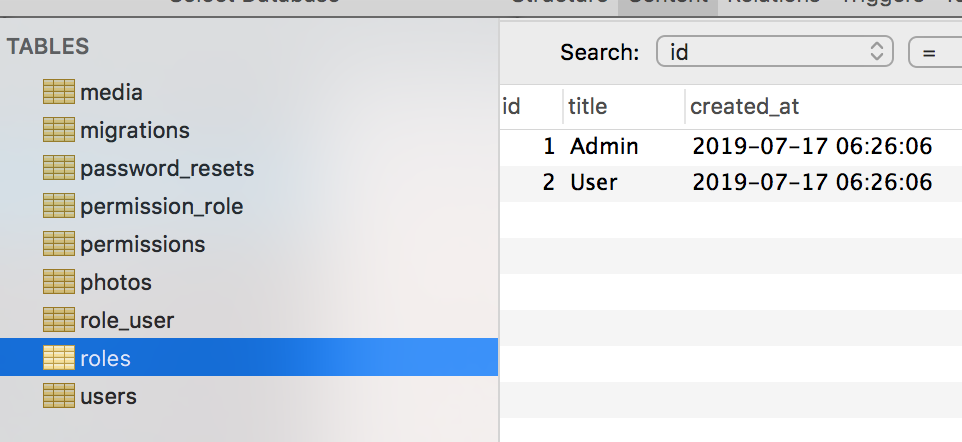
It is generated for us in each panel by default, with role/permission management, and with two default roles “Administrator” and “User”, so we don’t need to change anything here. Later in the article, when we need to add the “reviewer” role, I’ll explain how this works internally.
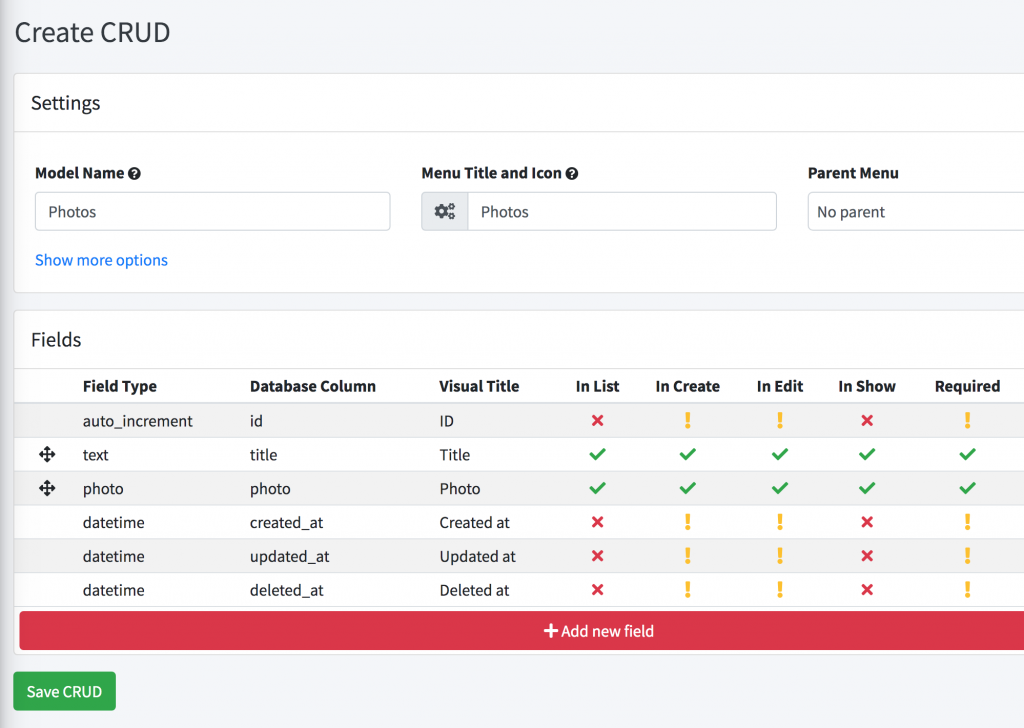
3. CRUD Photos
We create a new CRUD called “Photos” with only two fields – “title” (string field type) and “photo” (photo field type).
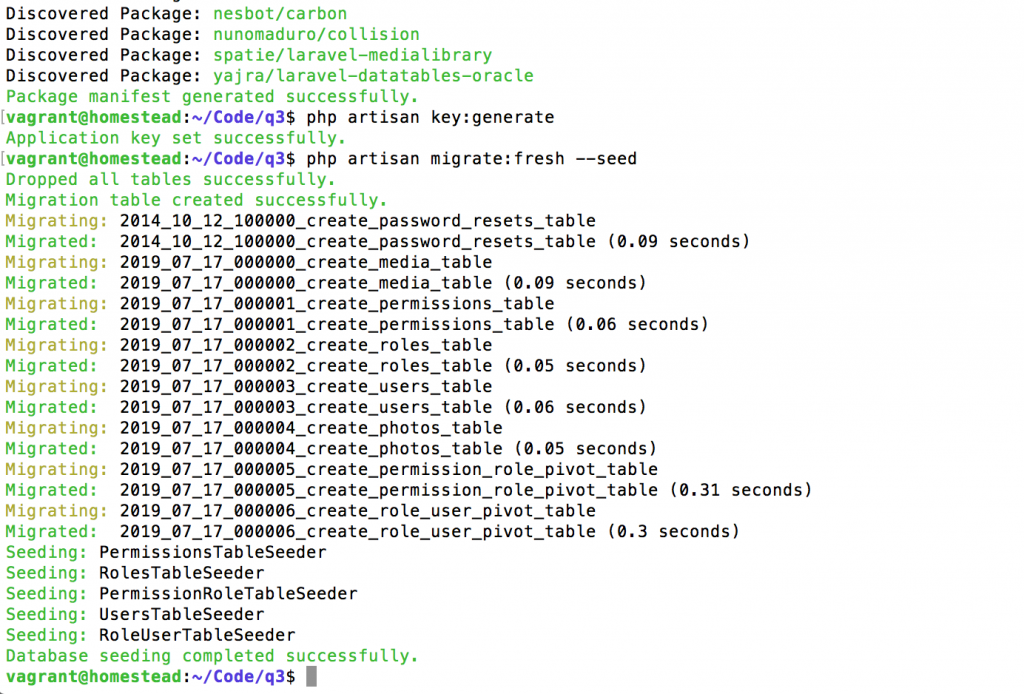
And that’s all for this phase: we download the project and install it locally with a few standard commands:
– .env file – identifiers
– composer installation
– php craft key: generate
– php artisan migrates – seed
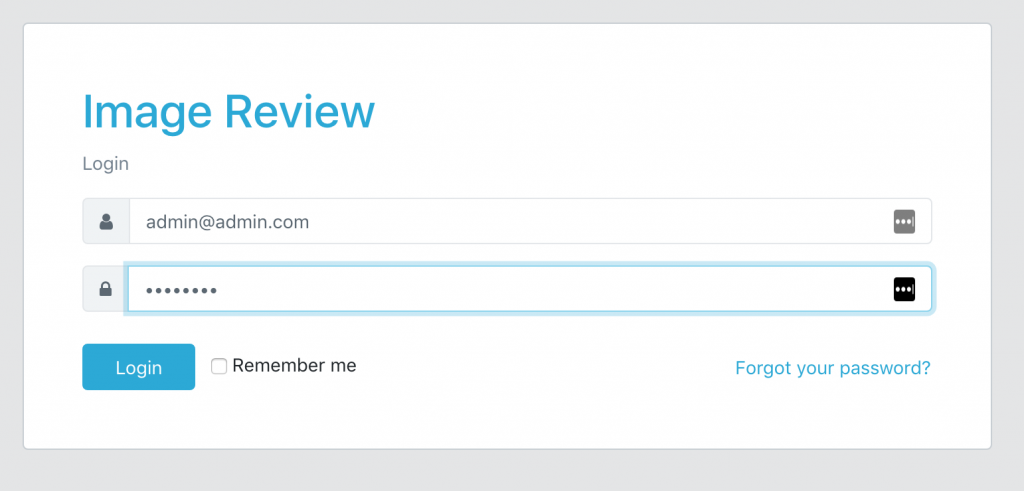
Here is our visual result, after logging in and adding a few photos as an administrator:

From here we will continue with custom Laravel code.
Step 2. Roles/Permissions and new role “Reviewer”
As I mentioned above, QuickAdminPanel by default comes with two roles: “Administrator” and “User”. The only real difference between them is that the user cannot manage other users. But both can access all other CRUDs.
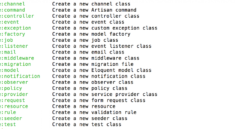
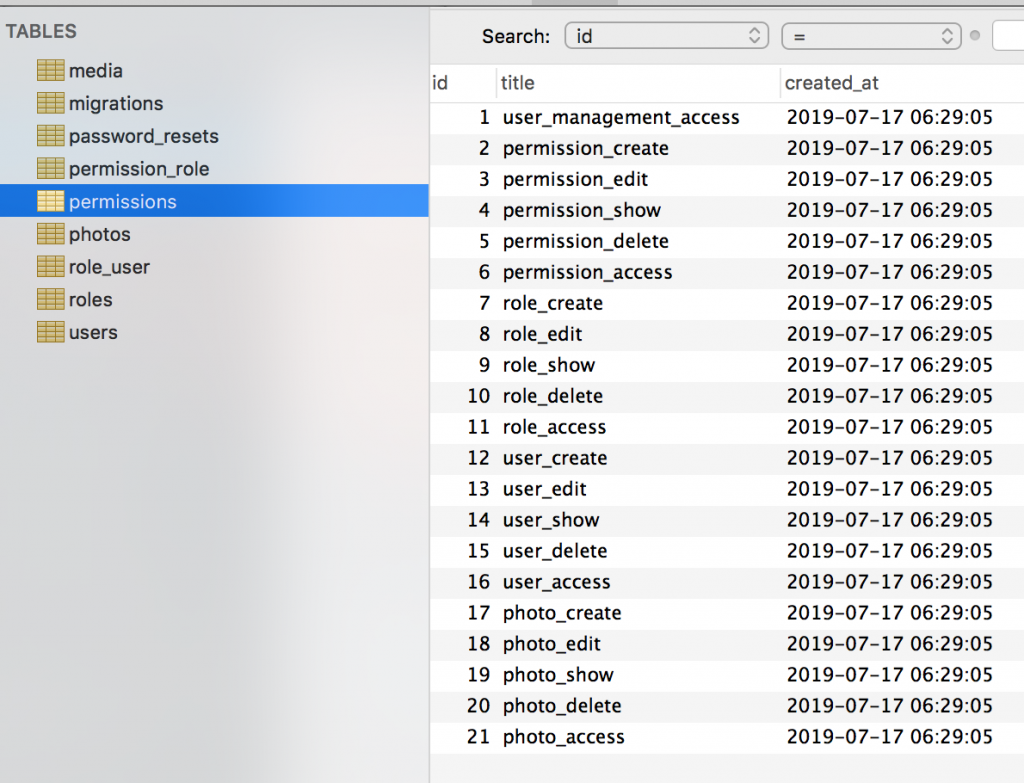
This system is based on the users/roles/permissions structure in the database tables, here are some screenshots:
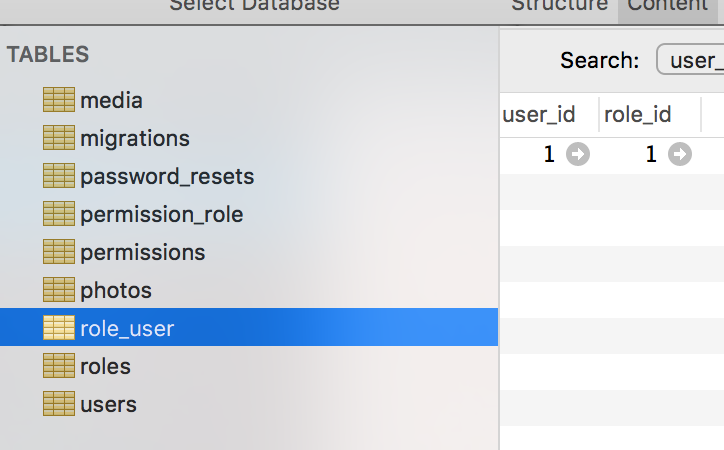
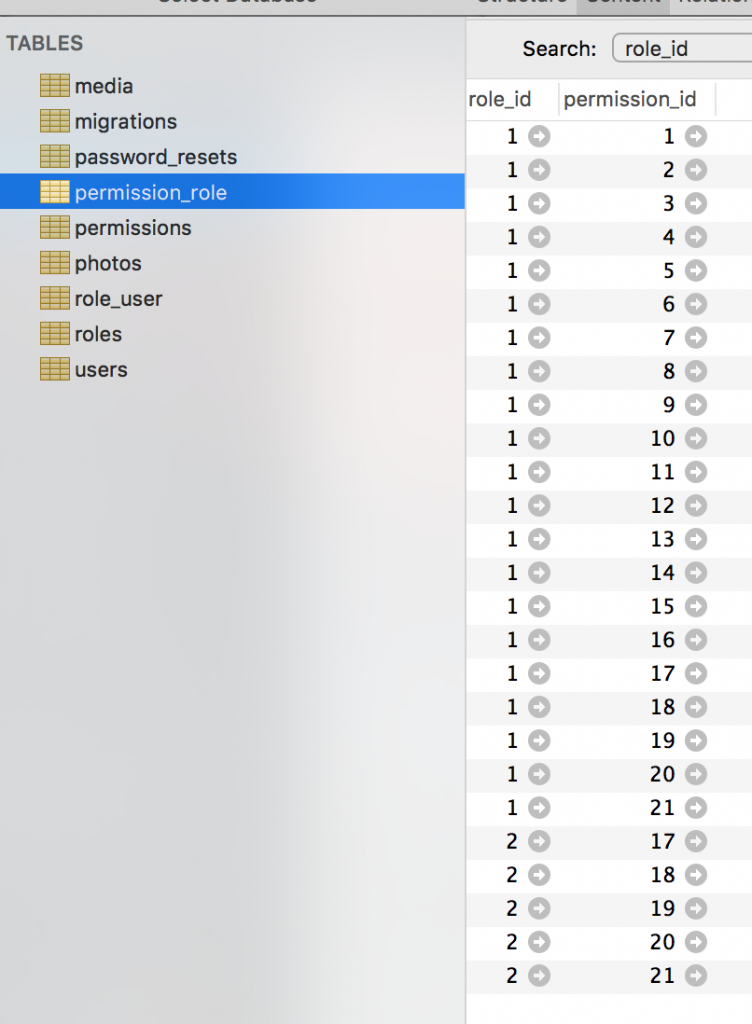
It’s quite simple. You can learn more about our roles/permissions system in this article or watch this popular video.
Now we need to add a “Reviewer” role here with permission to review photos, right?
We will do this by adding new entries in database/seeds seeder files, generated by QuickAdminPanel.
database/seeds/RolesTableSeeder.php:
class RolesTableSeeder extends Seeder
{
    public function run()
    {
        $roles = [
            [
                'id'         => 1,
                'title'      => 'Admin',
                'created_at' => '2019-06-30 14:24:02',
                'updated_at' => '2019-06-30 14:24:02',
                'deleted_at' => null,
            ],
            [
                'id'         => 2,
                'title'      => 'User',
                'created_at' => '2019-06-30 14:24:02',
                'updated_at' => '2019-06-30 14:24:02',
                'deleted_at' => null,
            ],
            [
                'id'         => 3,
                'title'      => 'Reviewer',
                'created_at' => '2019-06-30 14:24:02',
                'updated_at' => '2019-06-30 14:24:02',
                'deleted_at' => null,
            ],
        ];

        Role::insert($roles);
    }
}
Then, for each CRUD, we generate 5 permissions: access, create, modify, view and delete. We need to add the 6th to the “photos” area. We will also do this in seed.
database/seeds/PermissionsTableSeeder.php:
class PermissionsTableSeeder extends Seeder
{
    public function run()
    {
        $permissions = [
            [
                'id'         => '1',
                'title'      => 'user_management_access',
                'created_at' => '2019-06-30 14:24:02',
                'updated_at' => '2019-06-30 14:24:02',
            ],

            // ... all other permissions

            [
                'id'         => '17',
                'title'      => 'photo_create',
                'created_at' => '2019-06-30 14:24:02',
                'updated_at' => '2019-06-30 14:24:02',
            ],
            [
                'id'         => '18',
                'title'      => 'photo_edit',
                'created_at' => '2019-06-30 14:24:02',
                'updated_at' => '2019-06-30 14:24:02',
            ],
            [
                'id'         => '19',
                'title'      => 'photo_show',
                'created_at' => '2019-06-30 14:24:02',
                'updated_at' => '2019-06-30 14:24:02',
            ],
            [
                'id'         => '20',
                'title'      => 'photo_delete',
                'created_at' => '2019-06-30 14:24:02',
                'updated_at' => '2019-06-30 14:24:02',
            ],
            [
                'id'         => '21',
                'title'      => 'photo_access',
                'created_at' => '2019-06-30 14:24:02',
                'updated_at' => '2019-06-30 14:24:02',
            ],
            [
                'id'         => '22',
                'title'      => 'photo_review',
                'created_at' => '2019-06-30 14:24:02',
                'updated_at' => '2019-06-30 14:24:02',
            ],
        ];

        Permission::insert($permissions);
    }
}
Finally, we need to assign all “photos” permissions to our new “Reviewer” role. We also do this in seeds, but with a little more magic: go through the permissions and assign them all to all roles except those related to user management. Here is the complete code.
database/seeds/PermissionRoleTableSeeder.php:
class PermissionRoleTableSeeder extends Seeder
{
    public function run()
    {
        // Assign all permissions to administrator - role ID 1
        $admin_permissions = Permission::all();
        Role::findOrFail(1)->permissions()->sync($admin_permissions->pluck('id'));

        // Reviewer permissions are same as administrator except user management
        $reviewer_permissions = $admin_permissions->filter(function ($permission) {
            return substr($permission->title, 0, 5) != 'user_'
                && substr($permission->title, 0, 5) != 'role_'
                && substr($permission->title, 0, 11) != 'permission_';
        });
        Role::findOrFail(3)->permissions()->sync($reviewer_permissions);

        // Finally, simple user permission is same as reviewer but cannot review
        $user_permissions = $reviewer_permissions->filter(function ($permission) {
            return $permission->title != 'photo_review';
        });
        Role::findOrFail(2)->permissions()->sync($user_permissions);
    }
}
And now if we reseed the database we should have the correct permissions:
php artisan migrate:fresh --seed
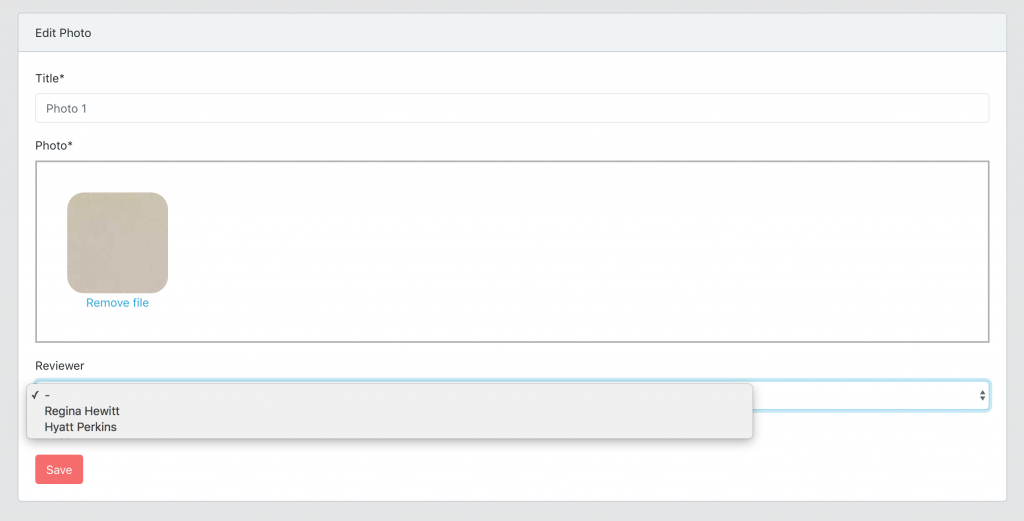
Step 3. Assign a reviewer to each new photo
Next step: Admin can appoint a reviewer when editing photos:
app/Http/Controllers/Admin/PhotosController.php:
public function edit(Photo $photo)
{
    abort_unless(\Gate::allows('photo_edit'), 403);
    $reviewers = Role::findOrFail(3)->users()->get();

    return view('admin.photos.edit', compact('photo', 'reviewers'));
}
And then displaying the drop-down list of potential reviewers.
resources/views/admin/photos/edit.blade.php:
<form action=" route("admin.photos.update", [$photo->id]) }}"
    method="POST" enctype="multipart/form-data">
    @csrf
    @method('PUT')

    <div class="form-group {{ $errors->has('title') ? 'has-error' : '' }}">
        <label for="title">{{ trans('cruds.photo.fields.title') }}*</label>
        <input type="text" id="title" name="title" class="form-control"
            value="{{ old('title', isset($photo) ? $photo->title : '') }}" required>
        @if($errors->has('title'))
            <em class="invalid-feedback">
                {{ $errors->first('title') }}
            </em>
        @endif
        <p class="helper-block">
            {{ trans('cruds.photo.fields.title_helper') }}
        </p>
    </div>

    <div class="form-group {{ $errors->has('photo') ? 'has-error' : '' }}">
        <label for="photo">{{ trans('cruds.photo.fields.photo') }}*</label>
        <div class="needsclick dropzone" id="photo-dropzone">

        </div>
        @if($errors->has('photo'))
            <em class="invalid-feedback">
                {{ $errors->first('photo') }}
            </em>
        @endif
        <p class="helper-block">
            {{ trans('cruds.photo.fields.photo_helper') }}
        </p>
    </div>

    @can('user_management_access')
        <div class="form-group">
            <label for="reviewer">{{ trans('cruds.photo.fields.reviewer') }}</label>
            <select class="form-control
                {{ $errors->has('reviewer_id') ? 'has-error' : '' }}" id="reviewer" name="reviewer_id">
                <option value="">-</option>
                @foreach($reviewers as $reviewer)
                    <option value="{{ $reviewer->id }}"
                    @if(isset($photo) && $photo->reviewer_id == $reviewer->id) selected @endif>
                        {{ $reviewer->name }}</option>
                @endforeach
            </select>
            @if($errors->has('reviewer_id'))
                <em class="invalid-feedback">
                    {{ $errors->first('reviewer_id') }}
                </em>
            @endif
            <p class="helper-block">
                {{ trans('cruds.photo.fields.reviewer_helper') }}
            </p>
        </div>
    @endcan


    <div>
        <input class="btn btn-danger" type="submit" value="{{ trans('global.save') }}">
    </div>
</form>
Here is the visual result:
And of course, we need to add a new DB field: photos.reviewer_id which can be nullable, here is the migration:
public function up()
{
    Schema::table('photos', function (Blueprint $table) {
        $table->unsignedInteger('reviewer_id')->nullable();
        $table->foreign('reviewer_id')->references('id')->on('users');
    });
}
Finally, we add it as $fillable in the model, in relation to users painting.
application/Photo.php:
class Photo extends Model implements HasMedia
{

    protected $fillable = [
        'title',
        'created_at',
        'updated_at',
        'deleted_at',
        'reviewer_id',
    ];

    public function reviewer()
    {
        return $this->belongsTo(User::class, 'reviewer_id');
    }

}
Our controller uses $query->all() to save the data, so we don’t need to change anything here – the photo reviewer will be automatically saved in the drop-down list.
Done here.
Step 4. “Photos to view” menu and list of photos
Ok, now we have roles/permissions and can assign reviewers to review photos. We probably need a new menu item so they can see this list of photos to review.
Here’s what we’re adding to our sidebar menu:
resources/views/partials/menu.blade.php
<ul class="nav">

    <!-- ... other menus ... -->

    @can('photo_access')
        <li class="nav-item">
            <a href=" route("admin.photos.index") }}" class="nav-link
                {{ request()->is('admin/photos') || request()->is('admin/photos/*')
                    && !request()->is('admin/photos/review') ? 'active' : '' }}">
                <i class="fa-fw fas fa-cogs nav-icon">

                </i>
                {{ trans('cruds.photo.title') }}
            </a>
        </li>
    @endcan

    @can('photo_review')
        <li class="nav-item">
            <a href=" route("admin.photos.indexReview") }}" class="nav-link
                {{ request()->is('admin/photos/review') ? 'active' : '' }}">
                <i class="fa-fw fas fa-search nav-icon">

                </i>
                {{ trans('cruds.photo.review') }}
            </a>
        </li>
    @endcan

    <!-- ... other menus ... -->

</ul>
As you can see, we are already using @can(‘photo_review’) permission from the previous step, so simple users will not see this menu item.
And now let’s implement it.
routes/web.php:
Route::group([
  'prefix' => 'admin',
  'as' => 'admin.',
  'namespace' => 'Admin',
  'middleware' => ['auth']
], function () {
    // ... other admin routes
    Route::get('photos/review', 'PhotosController@indexReview')
      ->name('photos.indexReview');
    Route::resource('photos', 'PhotosController');
});
So we have a new URL photos/reviewskeep in mind that this additional URL should appear Before Route::resource statement, not after, otherwise it will conflict with photo/{photo} what is to show() method in Controller.
Ok, let’s move on to the controller:
app/Http/Controllers/Admin/PhotosController.php:
public function indexReview()
{
    abort_unless(\Gate::allows('photo_review'), 403);
    $photos = Photo::reviewersPhotos()->get();

    return view('admin.photos.index', compact('photos'));
}
See part of Photo::reviewsPhotos()? This is a way to filter only photos for review by a connected reviewer. And for this we will use Eloquent Query Scopes.
In application/Photo.php we add this:
public function scopeReviewersPhotos($query)
{
    return $query->where('reviewer_id', auth()->id());
}
And that’s it. Blade file resources/views/admin/photos/index.blade.php because the list of photos is quite simple, but large, so I will not post it here, you will find it in the repository – link to Github at the end of the article.
Step 5. Photo approval – approved_at field and checkbox
Now we need to work on approving the photo. To do this, we will visually add a checkbox in the edit form. But in database we will save it under datetime field approved_to – it is much more informative to save WHEN the action was performed, instead of just saving the true/false value.
Migration file:
public function up()
{
    Schema::table('photos', function (Blueprint $table) {
        $table->datetime('approved_at')->nullable();
    });
}
New $fillable And $dates In application/Photo.php model:
class Photo extends Model implements HasMedia
{
    protected $dates = [
        'created_at',
        'updated_at',
        'deleted_at',
        'approved_at',
    ];

    protected $fillable = [
        'title',
        'created_at',
        'updated_at',
        'deleted_at',
        'approved_at',
        'reviewer_id',
    ];

    // ...
}
An additional checkbox field in the Edit form, displayed only if you have this permission:
resource/views/admin/photos/edit.blade.php:
@can('photo_review')
    <div class="form-group">
        <div class="form-check">
            <input type="checkbox" class="form-check-input"
              id="approved" name="approved_at"
              @if(isset($photo->approved_at)) checked @endif>
            <label for="approved"
              class="form-check-label">{{ trans('cruds.photo.fields.approved') }}</label>
        </div>
        <p class="helper-block">
            {{ trans('cruds.photo.fields.approved_helper') }}
        </p>
    </div>
@endcan
And we process it in app/Http/Controllers/Admin/PhotosController.php:
public function update(UpdatePhotoRequest $request, Photo $photo)
{
    abort_unless(\Gate::allows('photo_edit'), 403);
    $request['approved_at'] = $request->input('approved_at', false)
      ? Carbon::now()->toDateTimeString()
      : null;

    $photo->update($request->all());

    return redirect()->route('admin.photos.index');
}
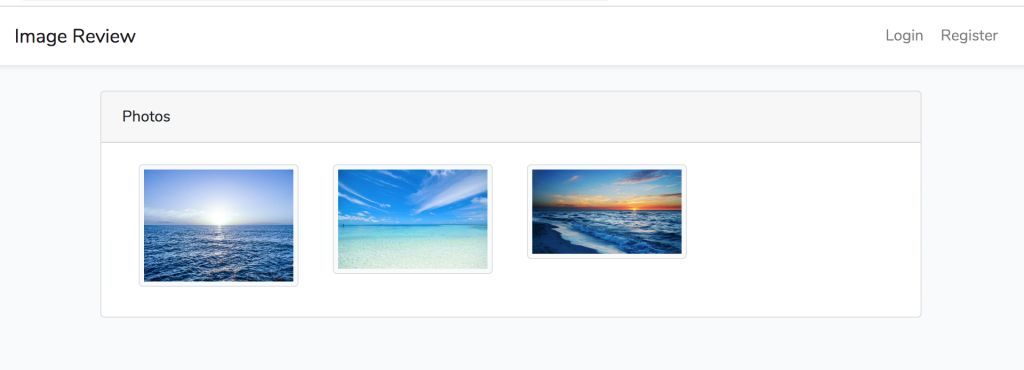
Step 6. Showing approved photos on the homepage
Finally, for guest visitors, we need to display photos on the home page, but only approved ones. Another litter!
application/Photo.php
public function scopeApproved($query)
{
    return $query->whereNotNull('approved_at');
}
Then go to the home page in routes/web.php:
Route::get('/', 'FrontController@index')->name('front.home');
Following, app/Http/Controllers/FrontController.php:
public function index()
{
    $photos = Photo::approved()->get();
    return view('front.index', compact('photos'));
}
And finally, the code for the first page.
resources/views/front/index.blade.php:
@extends('layouts.front')

@section('content')
<div class="container">
    <div class="row justify-content-center">
        <div class="col-md-10">
            <div class="card">
                <div class="card-header">{{ trans('cruds.photo.title') }}</div>

                <div class="card-body">
                    @if (session('status'))
                        <div class="alert alert-success" role="alert">
                            {{ session('status') }}
                        </div>
                    @endif
                    <div class="container-fluid">
                        <div class="row">
                            @forelse ($photos as $photo)
                                <div class="col-md-3 mb-2">
                                    @if($photo->photo)
                                        <a href=" $photo->photo->getUrl() }}" target="_blank">
                                            <img src=" $photo->photo->getUrl() }}" class="img-thumbnail" width="150px">
                                        </a>
                                    @endif
                                </div>
                            @empty
                                <div class="w-100">
                                    <p class="text-center">{{ trans('panel.empty') }}</p>
                                </div>
                            @endforelse
                        </div>
                    </div>
                </div>
            </div>
        </div>
    </div>
</div>
@endsection
Visual result:
There is magic with getUrl() method for the photo, you will find all the explanations on this subject in the repository (see below).
So, with this project I wanted to show you:
- How to implement and customize roles/permissions in Laravel
- How to use Eloquent Scopes to filter data
- Secondary objective: How easy it is to start an administration project with QuickAdminPanel
Here is the link to the repository which contains all the code above, as well as the multi-tenant implementation, so each user only sees their photos.
Appreciate: